Solved

Help on customization in Map widget - remove default stroke color black when clicked on any node/location

  • 6 October 2021
  • 3 replies
  • 80 views

Badge

Hello everyone!

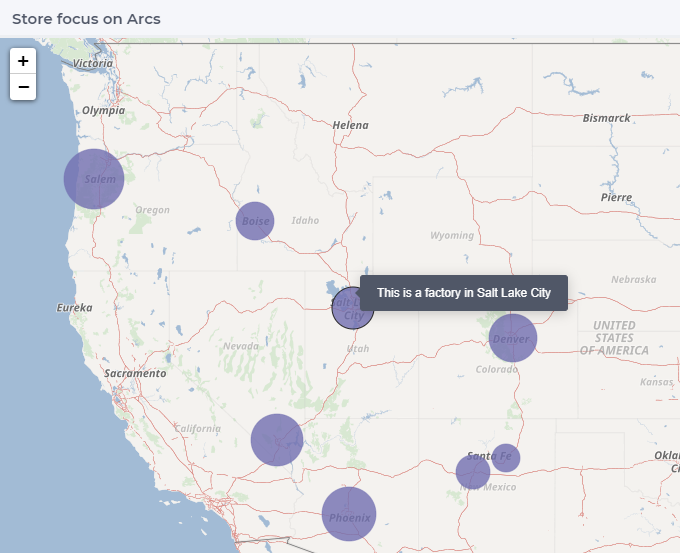
Is it possible to remove the default stroke color (black) when user clicks or selects any node/location which has already defined stroke color? This is so that the customized stoke colors (defined in model) for the nodes remain functional even when any node is selected. I see customized stroke colors appear back when clicked twice on any node.

In my case, by clicking on any location, the stroke colors are turned off and default stroke color black turns on. By clicking on same location again, we can see all stroke colors for potential locations(orange) and optimal location(red). Please find attached screenshots for reference.


Thanks in advance for help on this case!

icon

Best answer by Edo Nijmeijer 9 June 2022, 15:04

View original

3 replies

Userlevel 5
Badge +6

Hi @saurabh_1006


  The attachements are not available, can you re-send? But if I understood correctly, you would like to change the black color of a node once you select it, right?


Badge

Hi @saurabh_1006 

Just wanted to check back - did you find the help you needed in this thread, or maybe you found another solution you could share with us? It might help others to know, and thank you so much! 🙂

Userlevel 4
Badge +4

I see customized stroke colors appear back when clicked twice on any node.

In my case, by clicking on any location, the stroke colors are turned off and default stroke color black turns on. By clicking on same location again, we can see all stroke colors for potential locations(orange) and optimal location(red)

 Hi Saurabh_1006,

I think Gabi partially got the drift your question, but it sure was enough for me to (finally) get me thinking along.

What you’re doing (clicking twice) is a cycle between making a node selected and unselected.

The WebUI stylesheet has a specific rule for the selected-node state, which is this one

.tag-mapv3 .map-container svg.nodes-focused path.node.selected-node {
opacity: 0.9;
fill-opacity: 1;
stroke: #23272e;
stroke-width: 3px;
}

Your own custom css probably ‘just’ defines the unselected state, which is without that last selected-node class.

Hence, our WebUI rule, having a higher css specificity because of that definition, will add the dark stroke when you select the node, but leaves your own fill color (because it does not define it)
Something similar is happening when you hover over a node (like in Gabi’s screenshot): a is-hover class is added and it will overrule your own.

So it is now up to you to add a rule to your custom css to be more specific (or just as specific, at the least) as our rule. And within that, repeat your desired stroke etc. You need to repeat it, because you cannot easily ‘undefine’ our styling within your custom styling for a more specific case.

.tag-mapv3 .map-container svg.nodes-focused path.node.selected-node.annotation-optimal-location {
stroke: red;
stroke-width: 2px;
}

So the above is incomplete. It needs to be whatever you defined for your potential and optimal locations. And you need to get the correct class that your nodes have for that, probably not the annotation-optimal-location class I used as an example.
And maybe you want to tweak it a bit, since having a visually different selected state is worth something, of course.

Hope that helps, today still. I should have kept a better eye out for WebUI-related questions.

Reply


Didn't find what you were looking for? Try searching on our documentation pages:

AIMMS Developer & PRO | AIMMS How-To | AIMMS SC Navigator